Overview
The Gallery feature in MioSalon enables staff to upload customer transformation images directly from the appointment workflow. Before and after images can be captured and stored during or after the appointment booking process.
This helps salons, spas, and clinics maintain a visual record of each customer's service results, which is valuable for future consultations, marketing, and showcasing your work.
The images are linked to the customer profile and can be accessed anytime from the appointment or the Gallery List.
Navigation Path
Appointment → Select/Create Appointment → Proceed Appointment → Appointment Summary → Upload Client Images
Steps to Add Images During and Post Appointment Booking
Step 1: Create or Open an Appointment
From the Calendar, click on the calendar or navigate to the Appointment section.
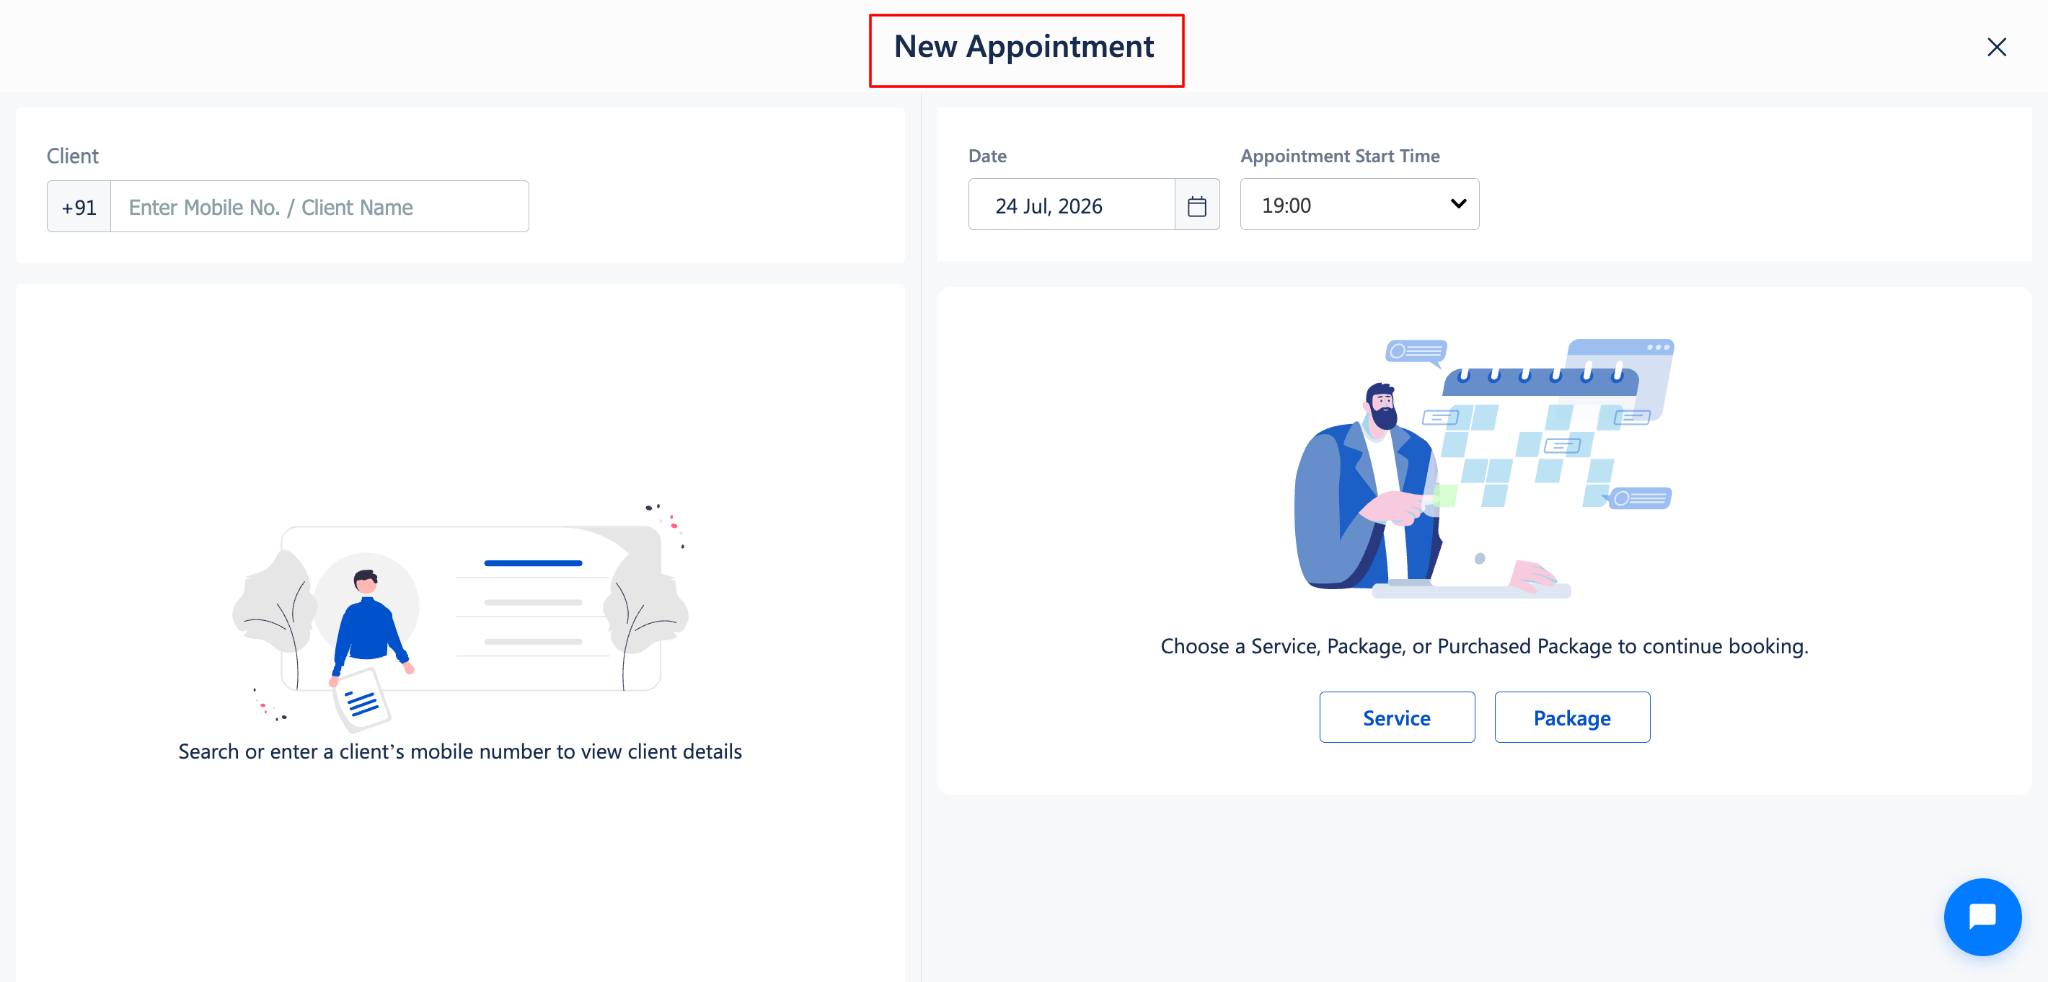
Click on a time slot to create a New Appointment.
Enter the client's mobile number or name to search and select the client.
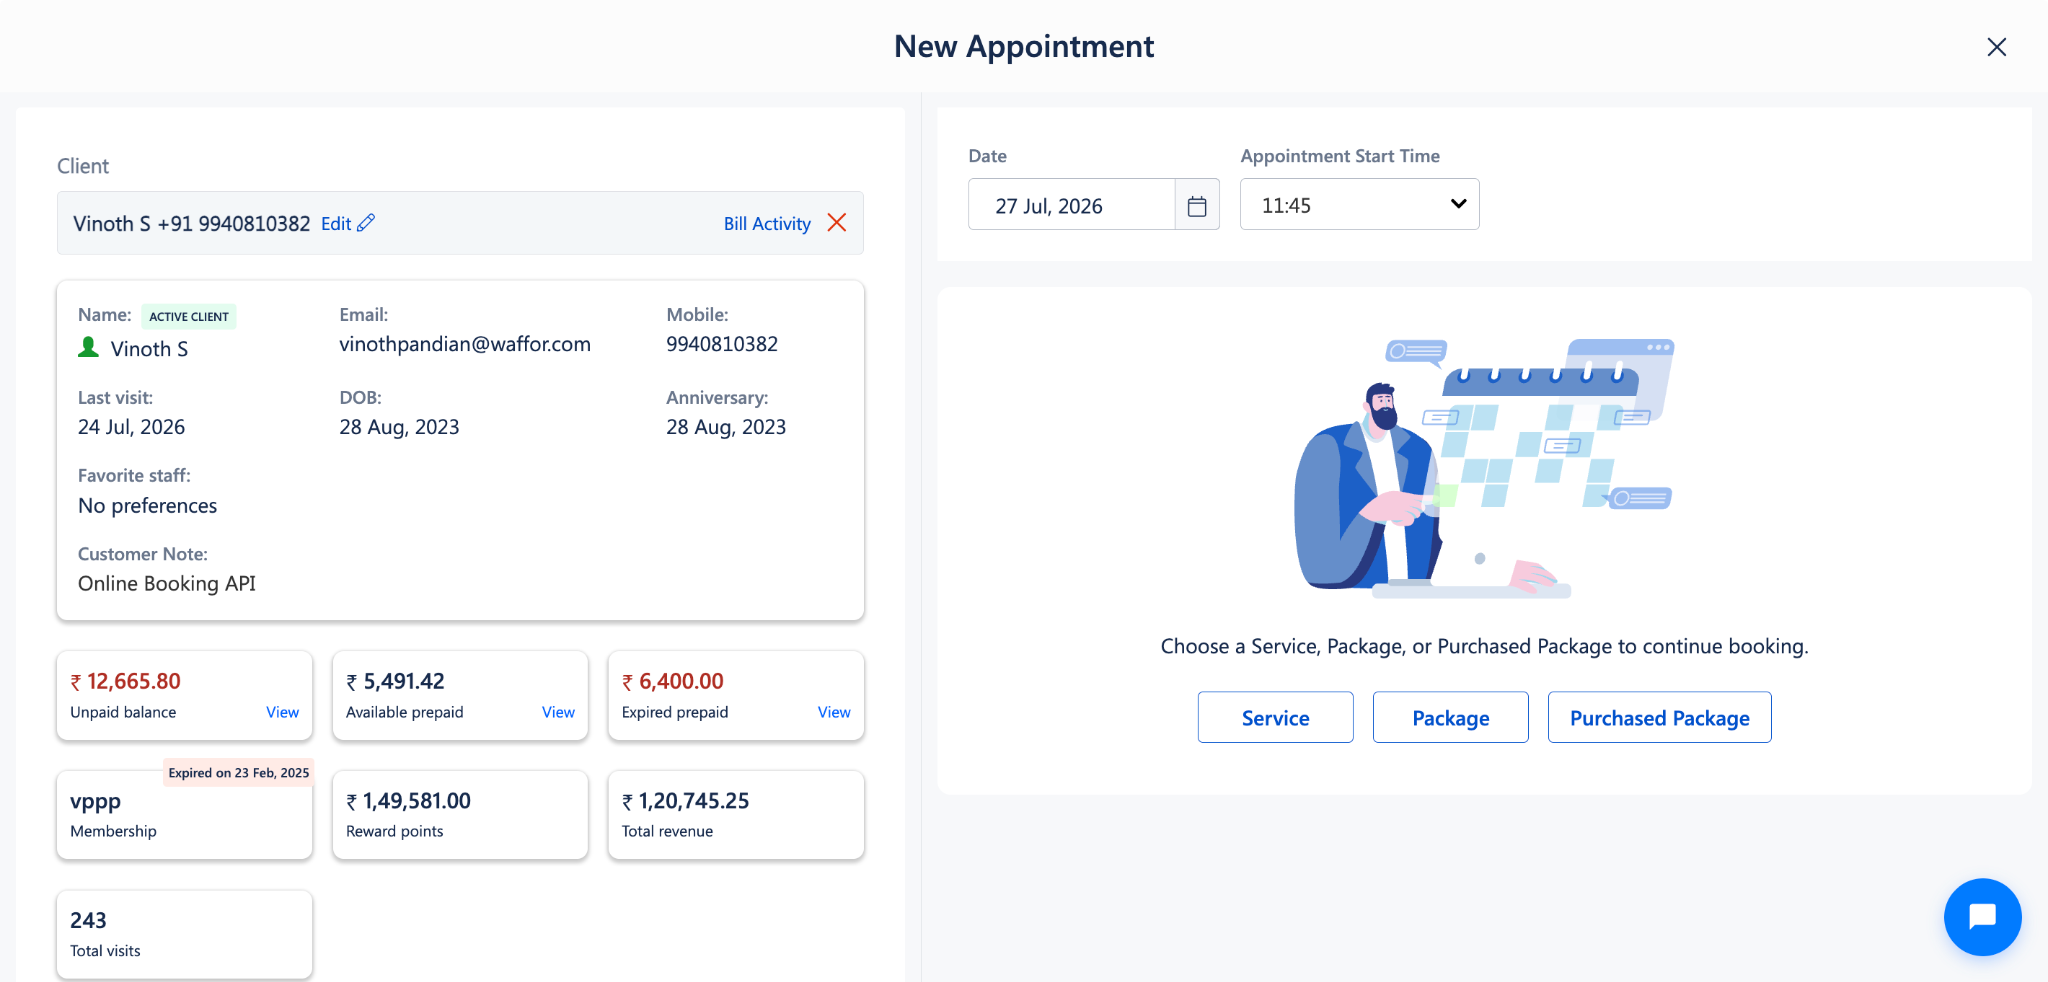
Choose a Service or Package for the appointment.
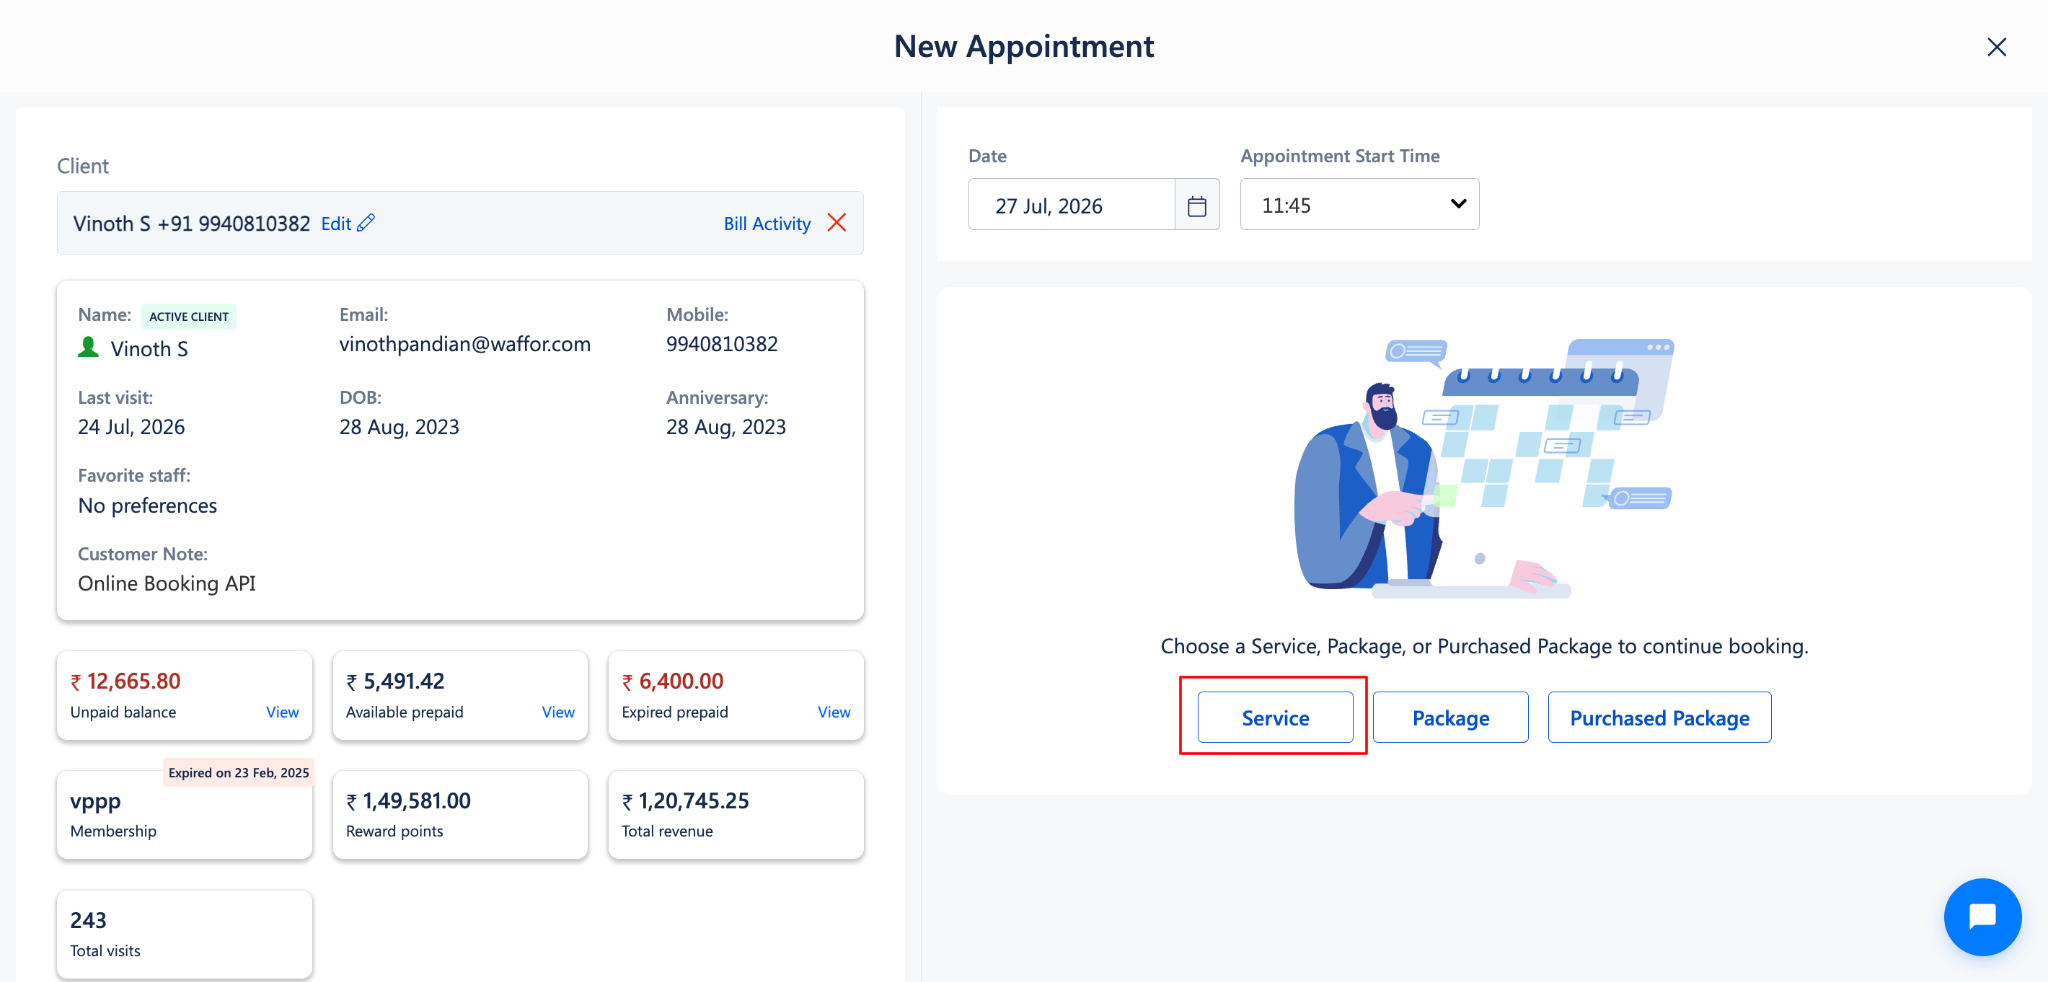
Step 2: Select Service and Proceed
Select the required service from the list (e.g., Body Wrap).
Assign a Staff member and Resource from the dropdowns.
Set the Date and Appointment Start Time.
Click Proceed Appointment to confirm the booking.
Step 3: Open the Upload Client Images Tab
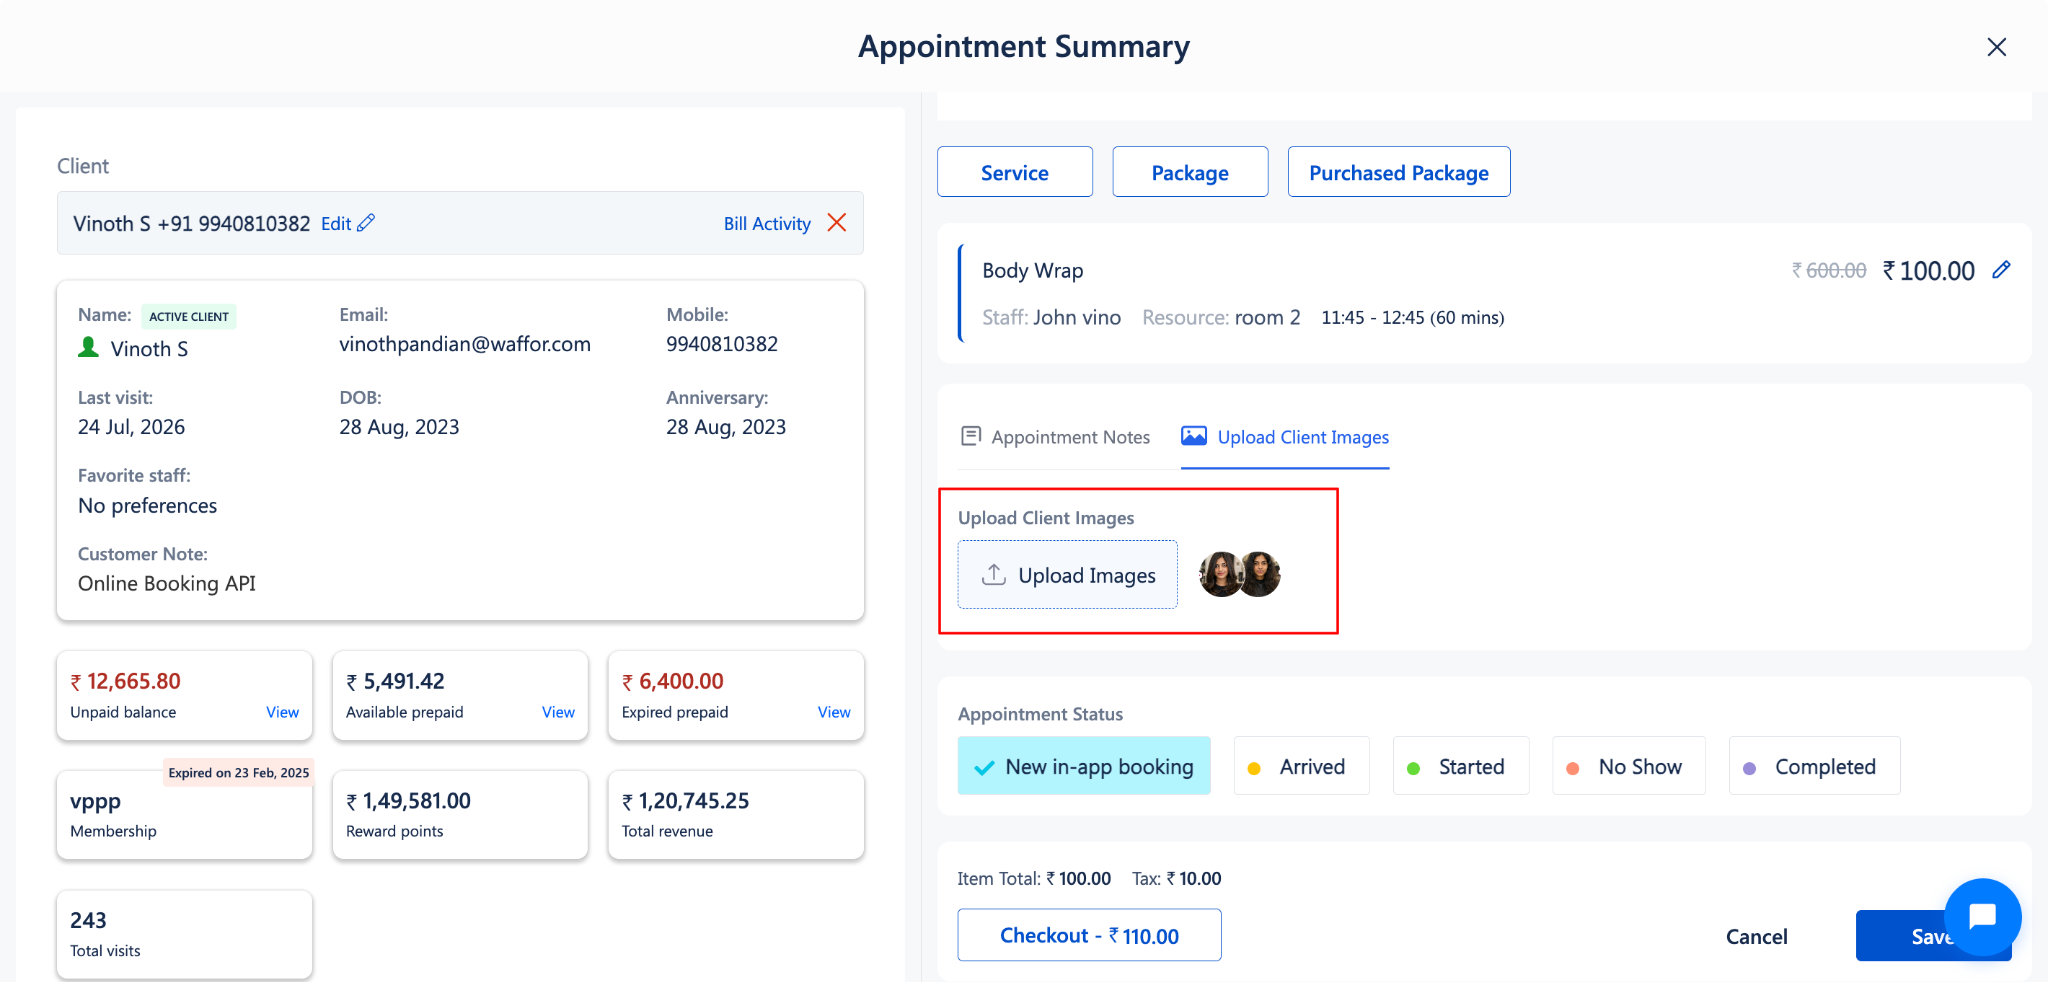
After proceeding, the Appointment Summary page will open.
On the right side, locate the two tabs below the service details: Appointment Notes and Upload Client Images.
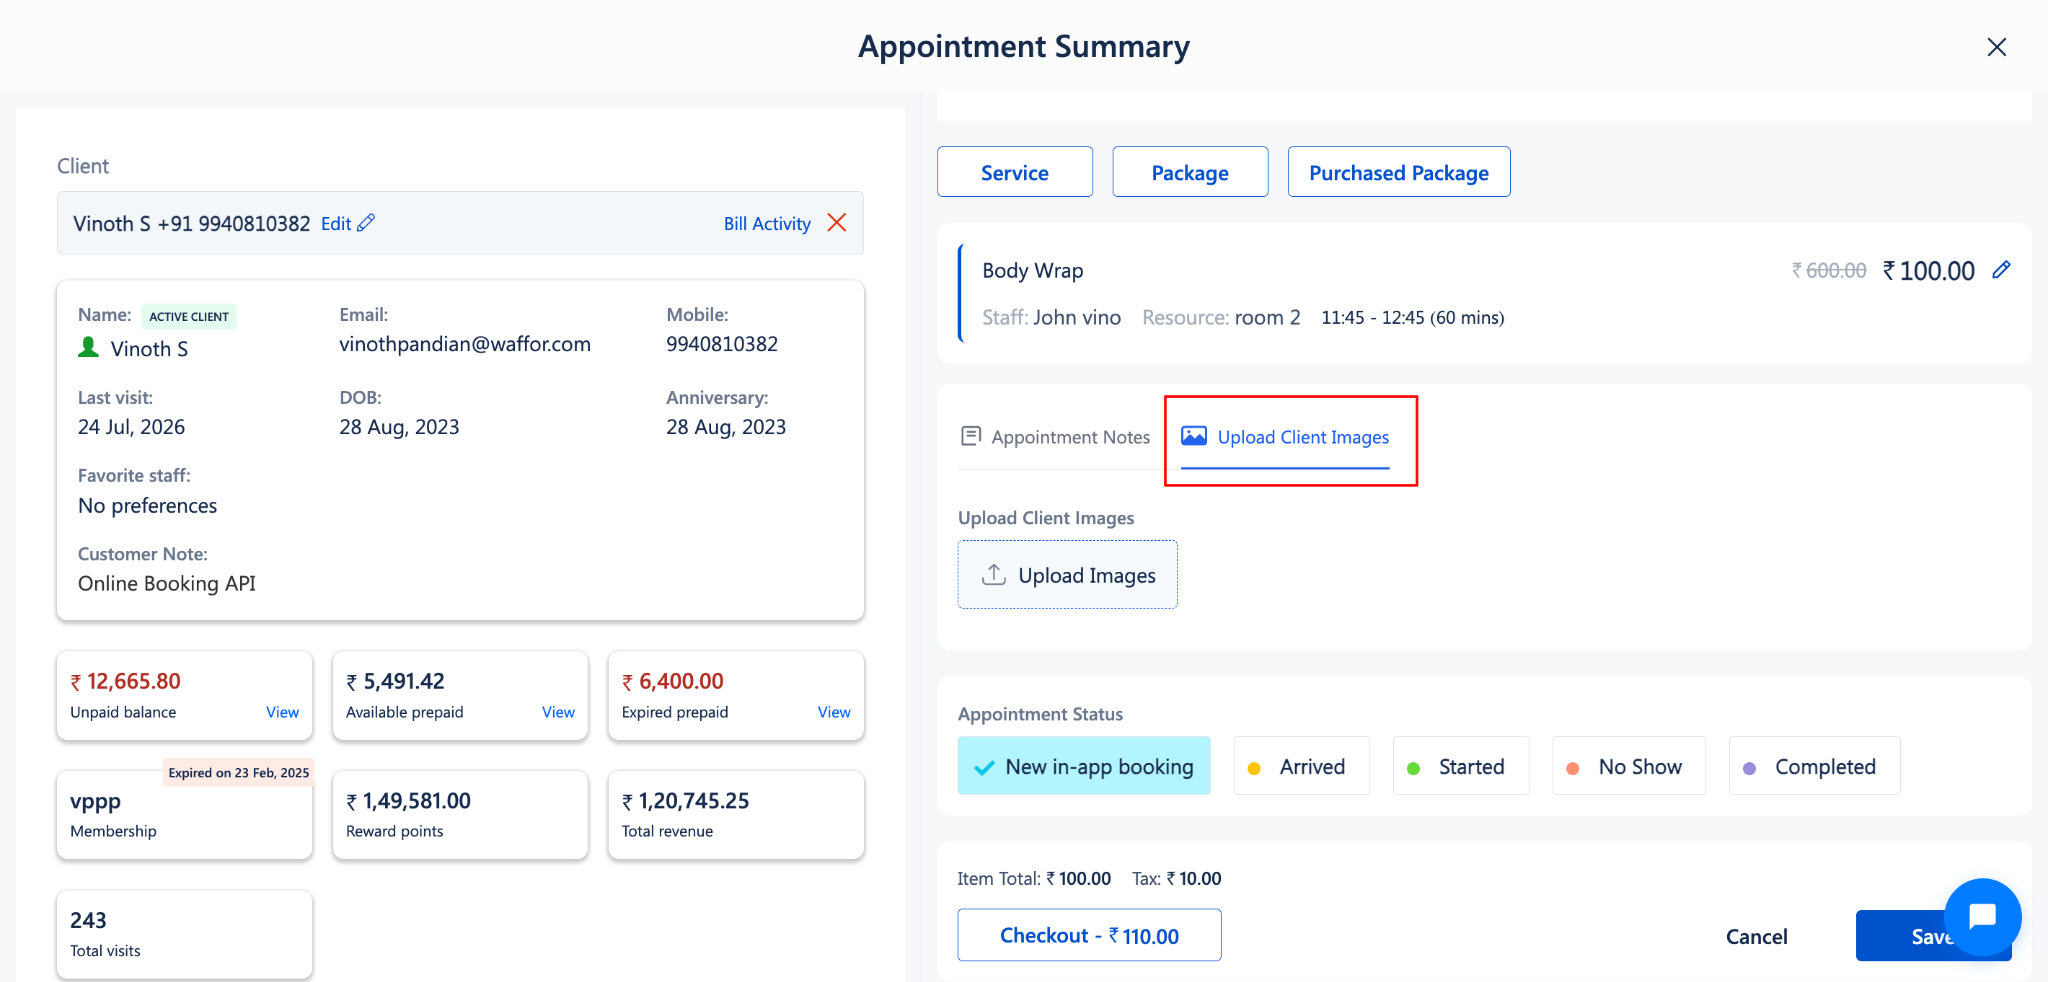
Click on the Upload Client Images tab.
The upload section will appear with an Upload Images button.
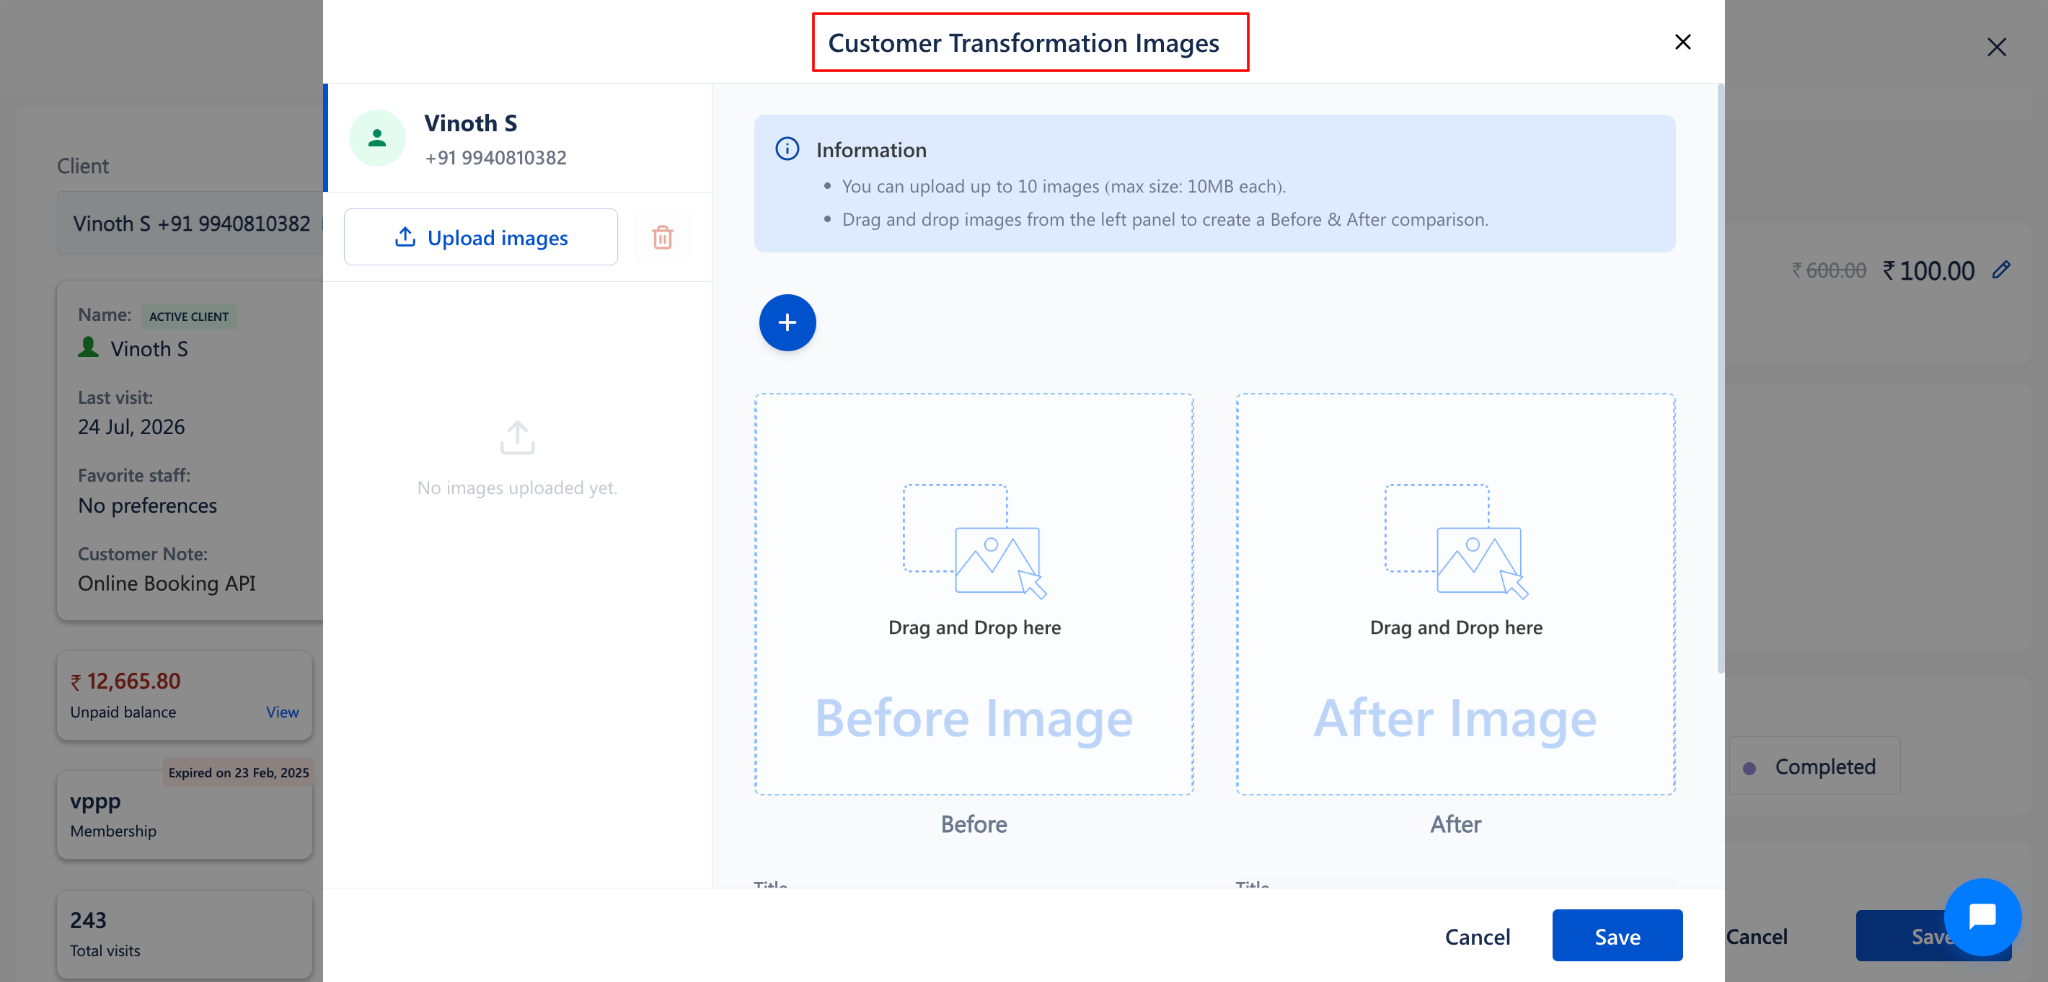
Step 4: Upload Images
Click the Upload Images button.
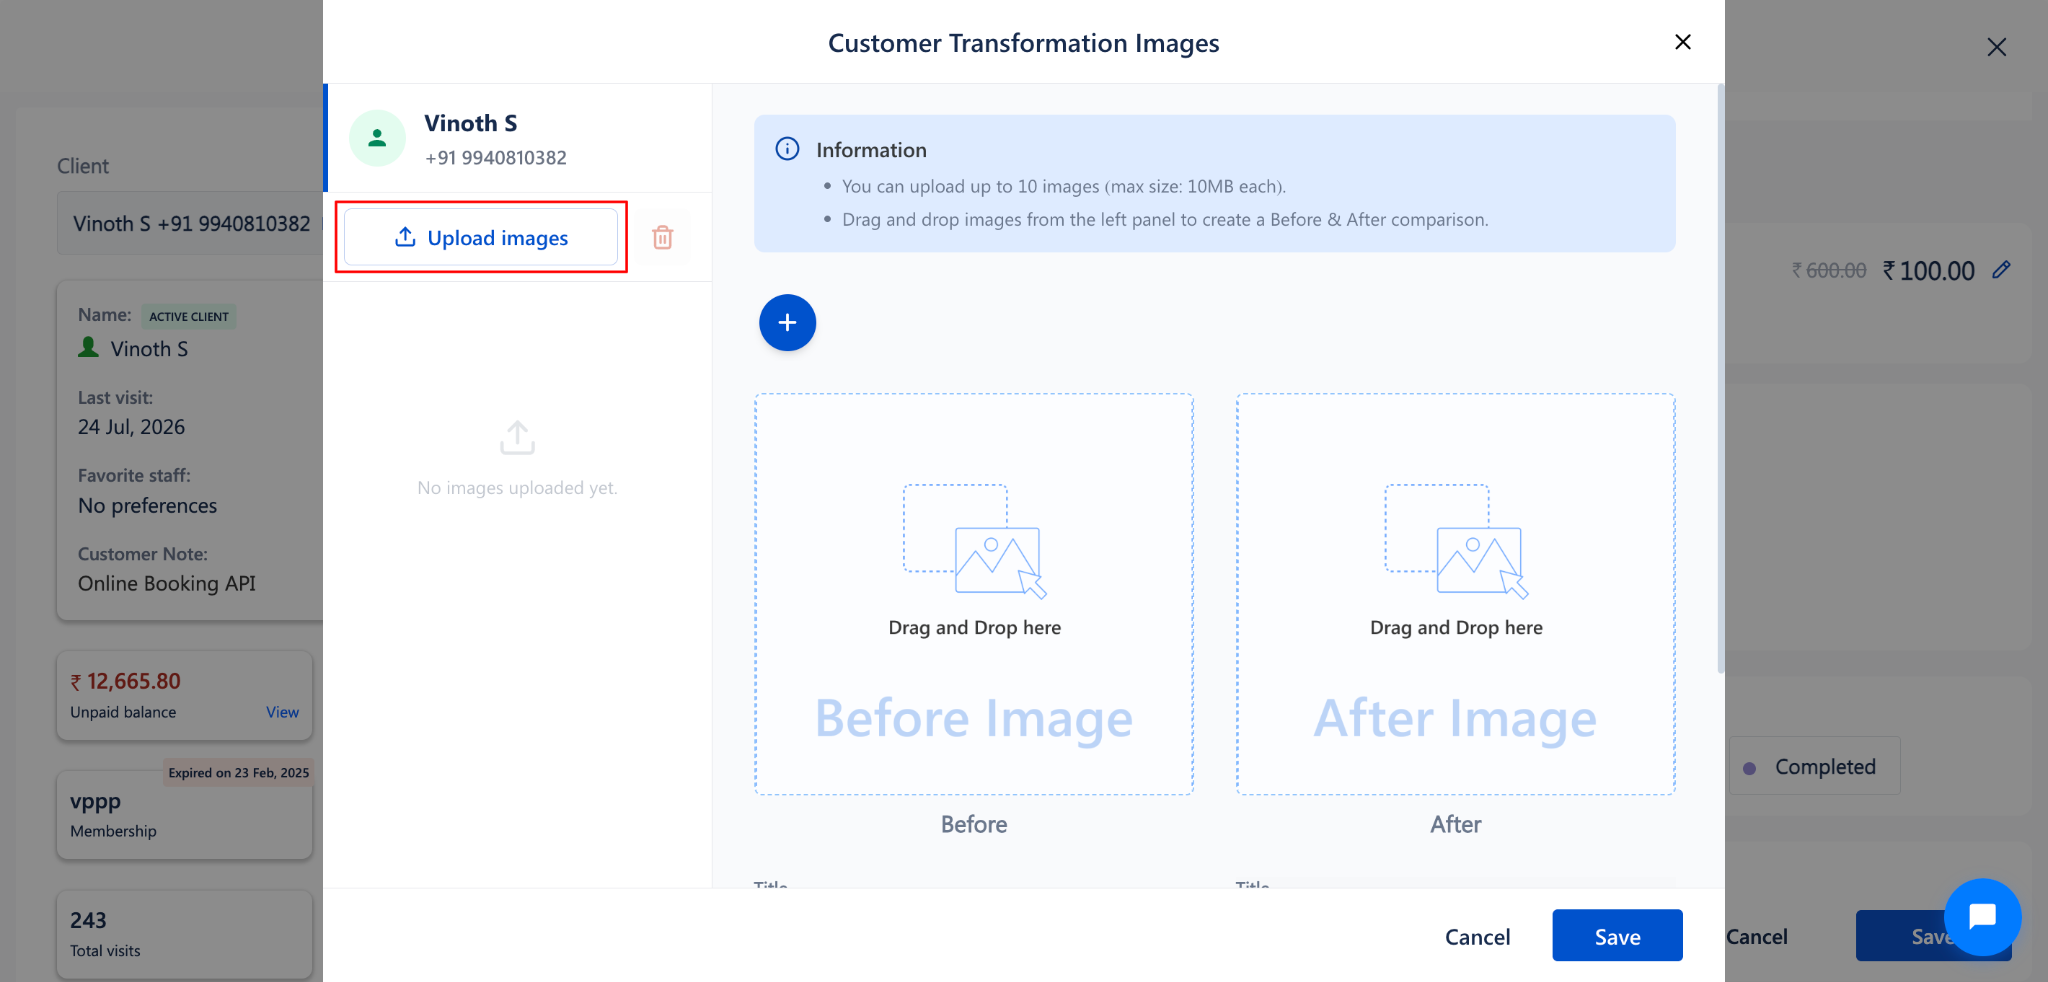
Select images from your computer to upload.
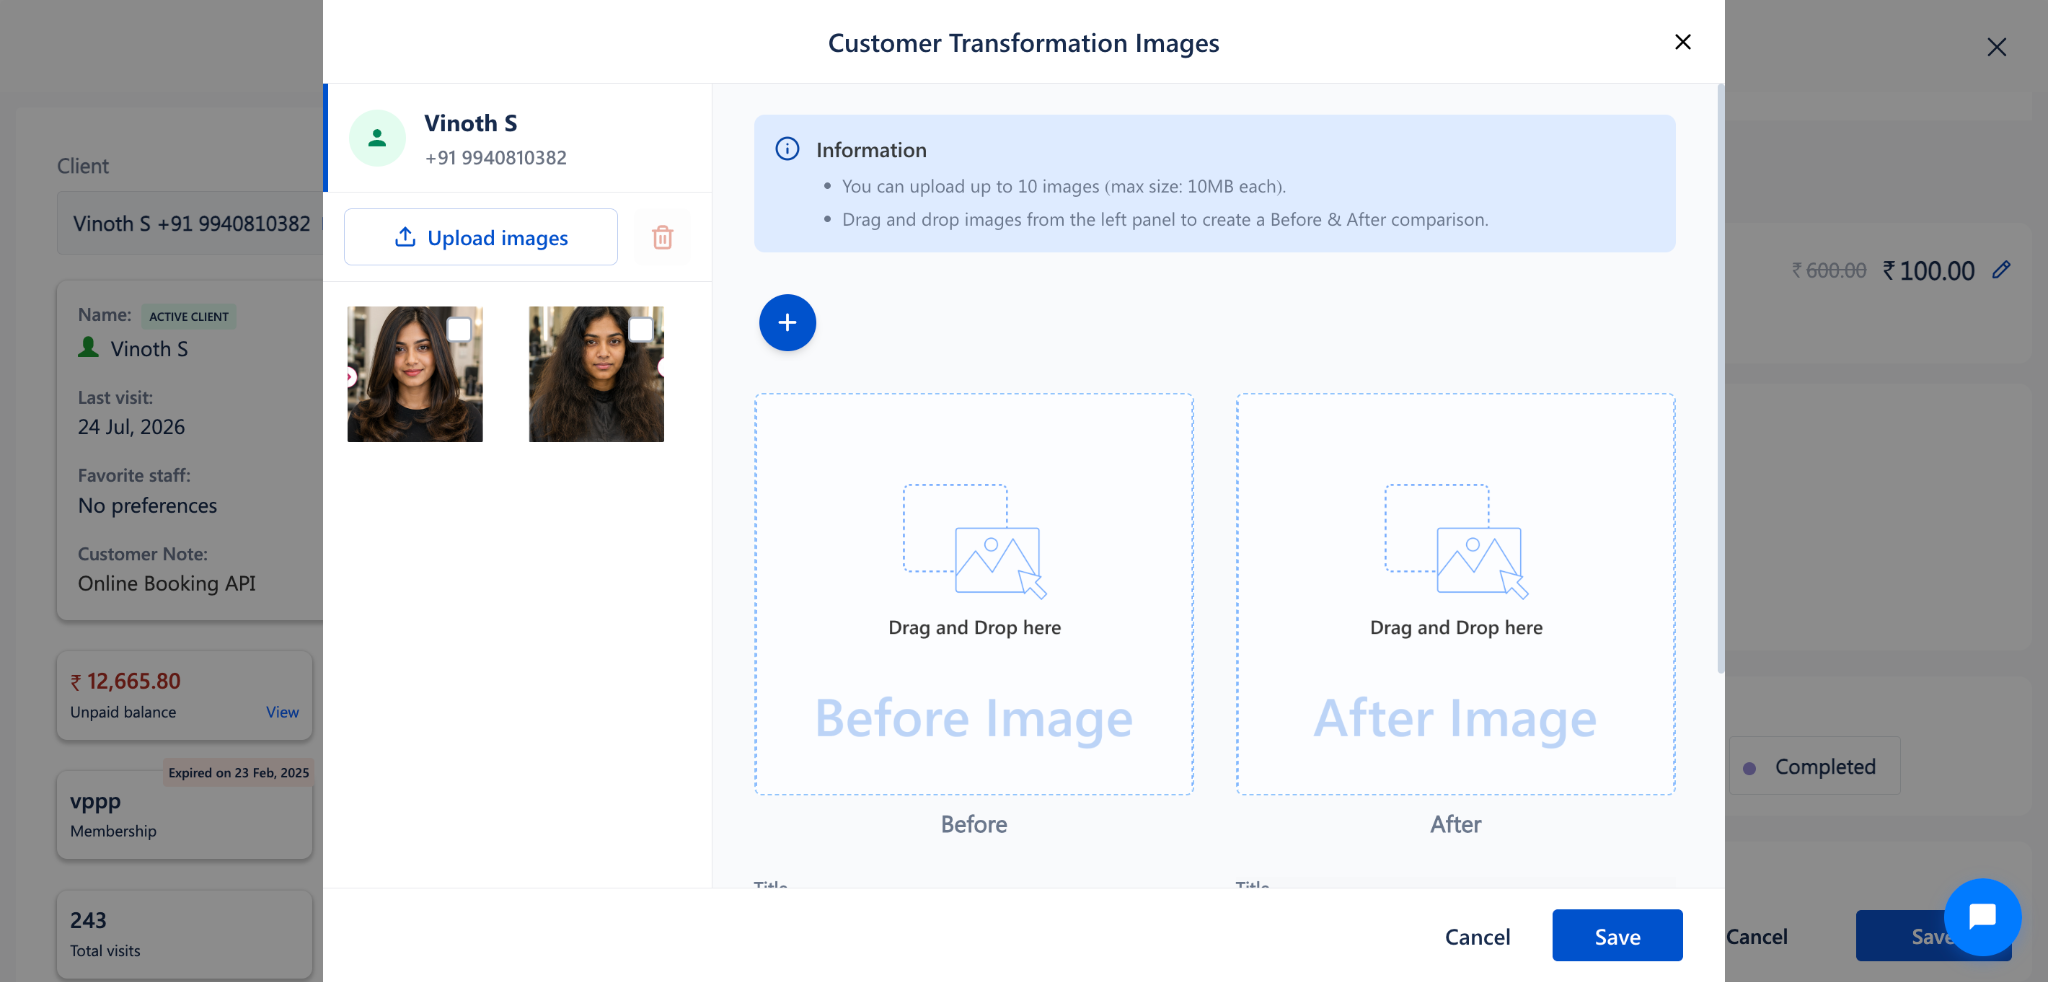
The uploaded images will appear as thumbnails next to the Upload Images button.
NOTE
You can upload up to 10 images (max size: 10MB each).
Step 5: Arrange Before & After Images
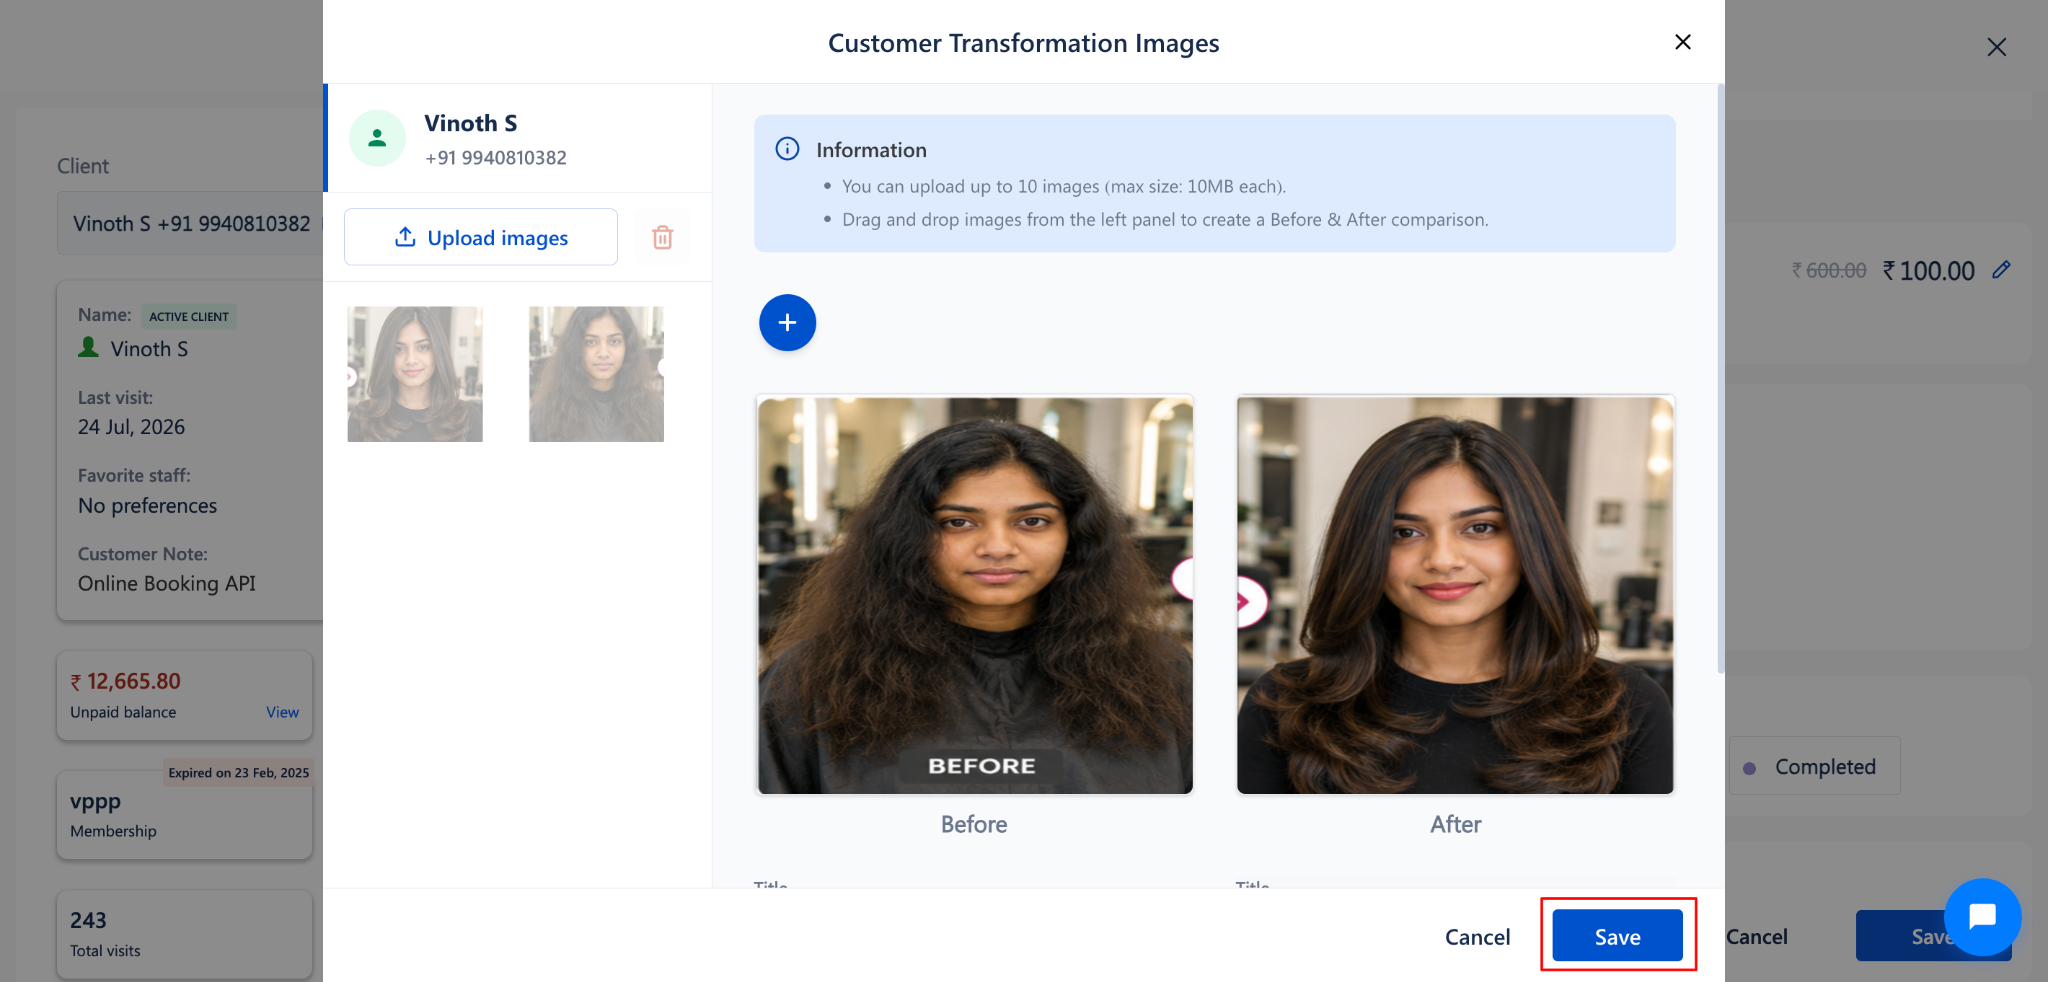
Once images are uploaded, click on the image thumbnails to open the Customer Transformation Images dialog.
The dialog shows:
Left panel: All uploaded images as thumbnails
Right panel: Before and After image slots
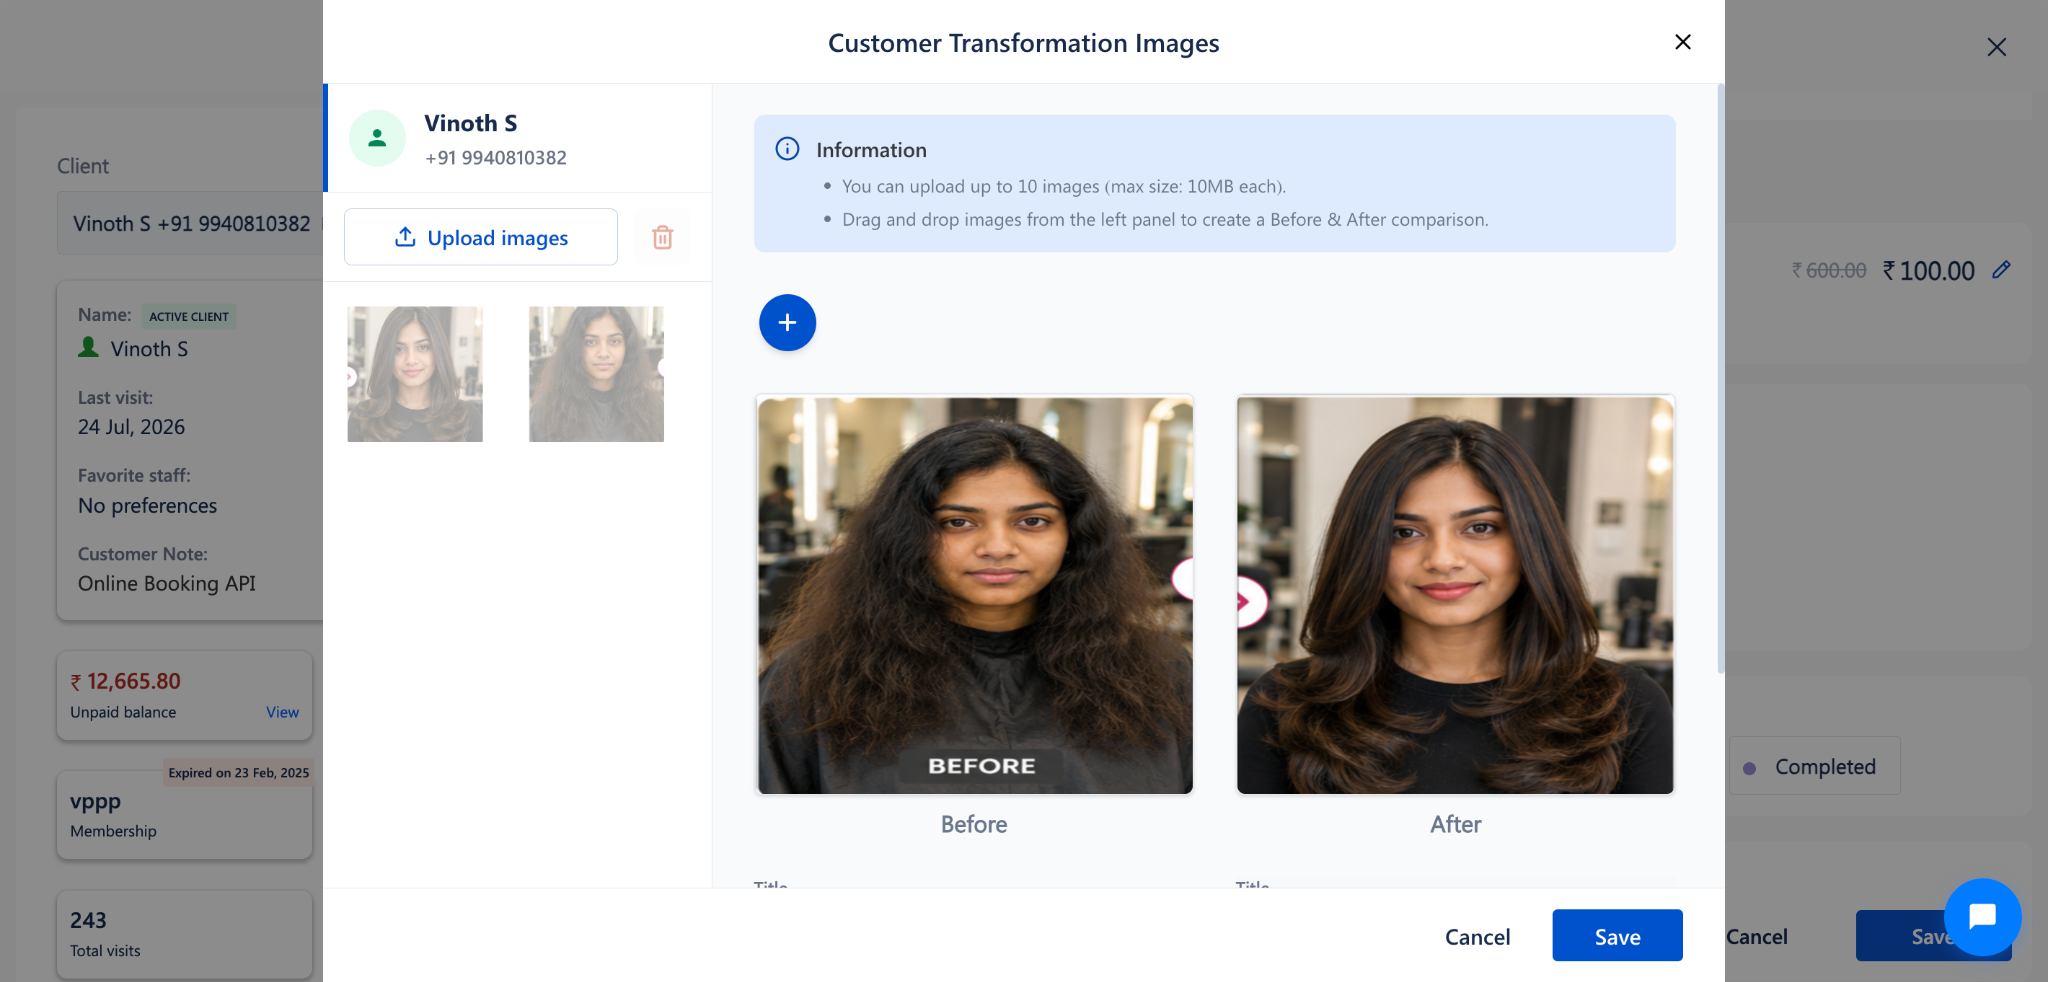
Drag and drop images from the left panel to the Before Image and After Image slots.
Use the + (plus) button to add additional Before & After comparison sets.
Step 6: Save the Images
After arranging the Before & After images, click the Save button at the bottom-right corner.
To discard changes, click Cancel to close the dialog without saving.
The images will be linked to the client’s appointment record.
Use Cases
Capture before and after images of a haircut or hair coloring service for the customer's record.
Document skin treatment progress for dermatology or facial services.
Build a portfolio of transformation images for social media marketing and promotions.
Provide visual references during follow-up consultations with returning customers.
Benefits
Creates a visual history of each customer's transformation linked to their profile.
Simplifies image collection by integrating it directly into the appointment workflow.
Supports up to 10 images per session for comprehensive documentation.
Enhances customer trust by providing visual proof of service quality.
Was this article helpful?
That’s Great!
Thank you for your feedback
Sorry! We couldn't be helpful
Thank you for your feedback
Feedback sent
We appreciate your effort and will try to fix the article