MioSalon now supports direct integration with ReachWare, a ZADKA-compliant platform for e-invoicing in Saudi Arabia. This integration enables salons and spas to automatically report invoices to the Saudi government in compliance with local tax regulations.
Follow this guide to set up your ReachWare integration in just a few steps.
Note: This Reachware integration is only for Saudi Arabian customers.
Step-by-Step: How to Set Up ReachWare Integration
Login to your MioSalon account.
Click the Main Menu (☰) on the left navigation panel.
Go to Settings → Integrations.
Under Integrations, select ReachWare.
On the Get Started page, review the overview of the integration and click Next.
Click the Setup button to start the configuration process.
Settings:

Get started page:

What You Need Before Setup
To connect your MioSalon account to ReachWare, ensure you have:
A valid ReachWare account
A business location created inside ReachWare
The following credentials (from your ReachWare account):
Username
Password
Device ID
API Token
If you don’t have a ReachWare account, please create one at reachware and configure your business location before proceeding.
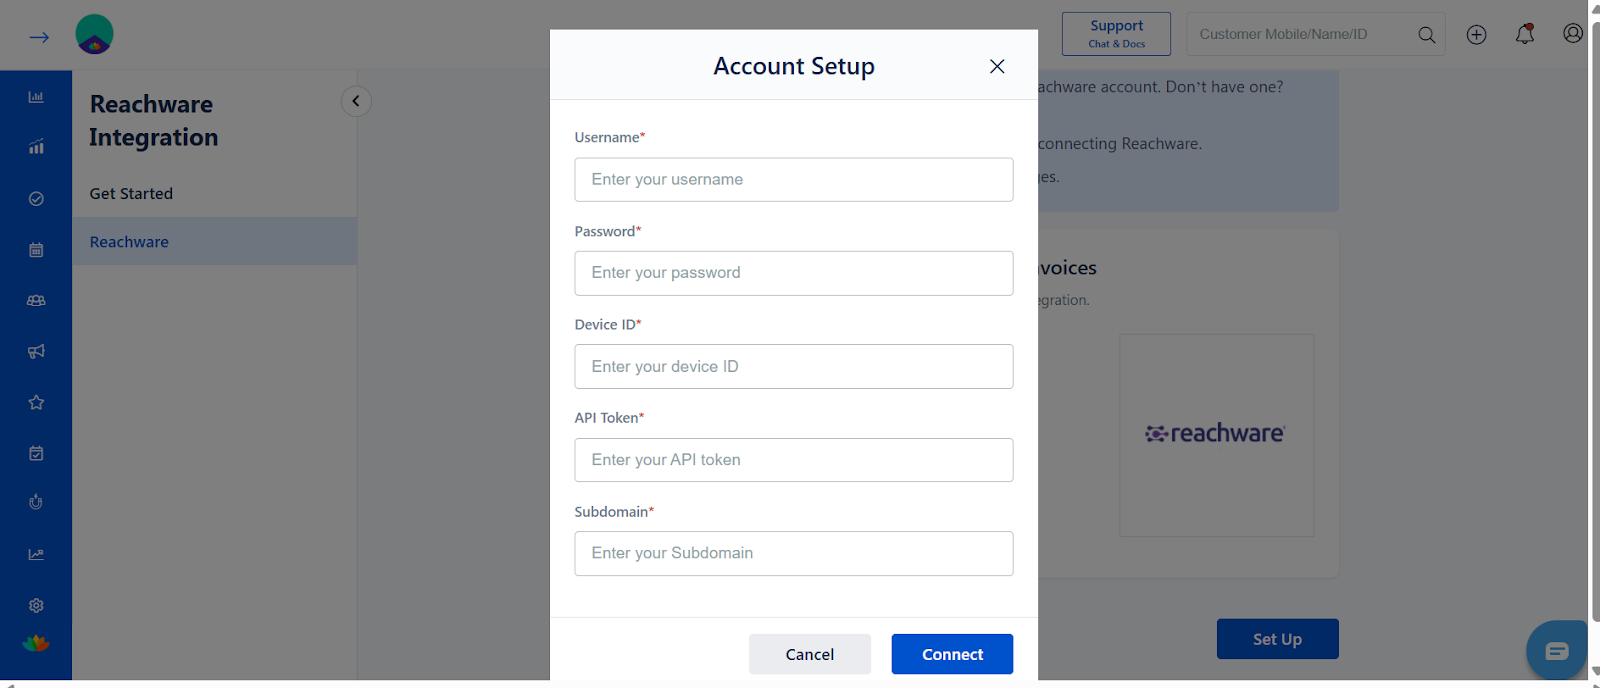
Settings page:

Field Explanation
Username & Password: ReachWare login credentials.
Device ID: Unique ID assigned to your device inside ReachWare, needed to link with MioSalon.
API Token: A secure token generated from ReachWare to allow communication between the two platforms.
Sub-Domain:
Enter your unique sub-domain name provided by ReachWare.
Example:
yourbusiness.reachware.sa
Verify that your API Key and Business ID are correctly entered.
Click Save to update your integration settings.
✅ Once saved, the system will automatically validate your sub-domain and connect your MioSalon account to your registered ZATCA ReachWare environment.
Popup for Integrate with Reachware:
After Successful Integration
Once connected, you’ll see the ReachWare Connection: Active status. From this moment:
All invoices created after the integration date will be automatically synced to your ReachWare account.
You’ll also see the option to manually export older invoices.

Exporting Previous Invoices (Manual Step)
Invoices created before the integration date will not sync automatically. However, you can easily export them in bulk:
Click the Export button in the integration screen.
Select a custom date range (limited to 10 days at a time).
Click Export – the invoices will be pushed to your ReachWare account.
You do not need to download or upload any files manually. Just select the dates and export.
Disclaimer: The custom date range allows exporting a maximum of 10 days at a time. Once the export is completed, you can repeat the process by selecting another 10-day range.
After Export:

Disconnecting the Integration
To stop syncing with ReachWare:
Click the Disconnect button.
A confirmation pop-up will appear.
Click Continue to confirm.
This will halt all automatic invoice transfers to ReachWare.

Use Cases & Tips
Stay compliant with Saudi tax laws effortlessly.
Eliminate manual entry into ReachWare.
Keep your business audit-ready with automated reporting.
Export historical data for full coverage.
Ideal for salons & spas operating under ZADKA guidelines.
Was this article helpful?
That’s Great!
Thank you for your feedback
Sorry! We couldn't be helpful
Thank you for your feedback
Feedback sent
We appreciate your effort and will try to fix the article